Tile laying plays a significant role in the appearance and performance of any space. To enhance aesthetics and ensure durability, safety, and long-term stability, it's essential to follow a proper installation process using the right materials and tools. Follow these steps and step into the space of your dreams. At KREMEN, we ensure tiles are laid with utmost accuracy and care. From surface preparation to final finishing, our process guarantees strength, durability, and flawless alignment—creating elegant spaces that last. Proper tile laying enhances performance, beauty, and value in every project.
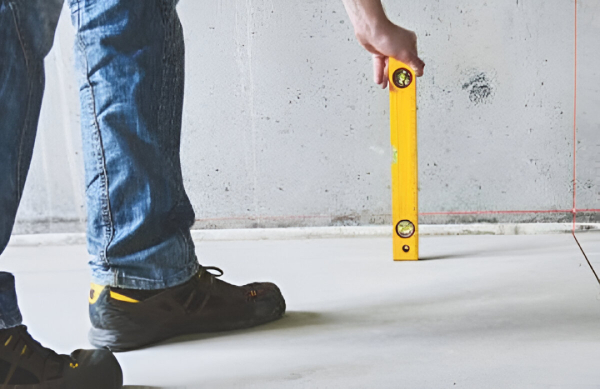

Before tile laying begins, it’s essential to prepare the floor properly. Clean the surface thoroughly to remove dust, dirt, oil, or debris. Any uneven areas should be leveled for a smooth foundation. A well-prepared floor ensures strong bonding, prevents future issues, and enhances the overall life of the tiles.
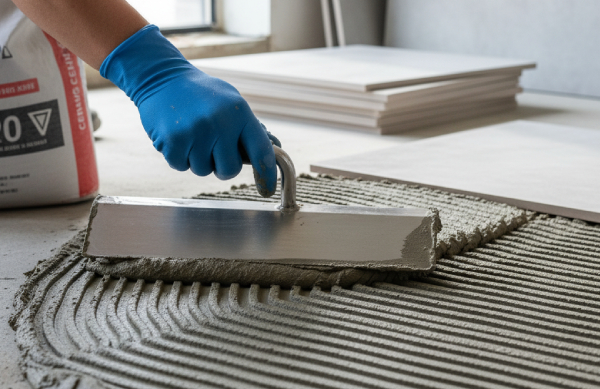

Apply tile adhesive evenly with a professional notched trowel to create a flat, uniform surface. This step ensures proper bonding between the tile and substrate. Using quality adhesives is critical for durability, stability, and seamless finish. Even distribution prevents weak spots and guarantees long-lasting strength across the tiled surface.
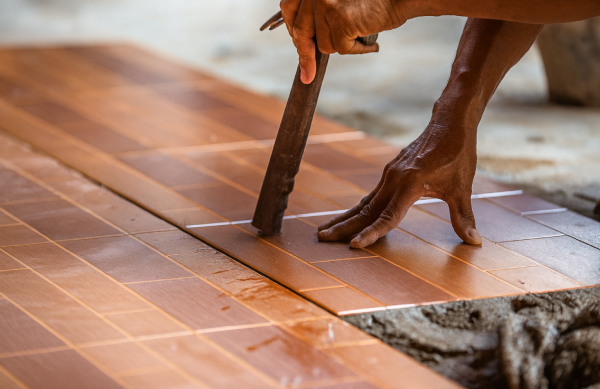

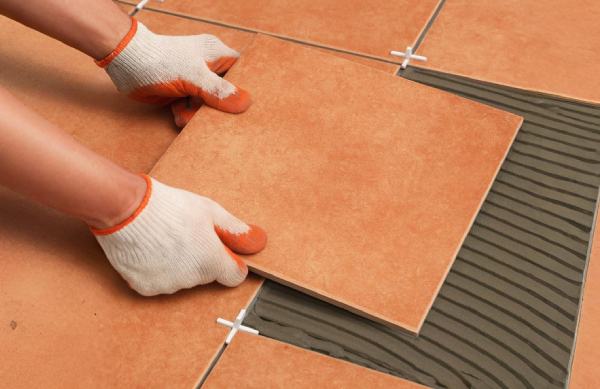
Always confirm the direction of each tile before installation. Tiles are designed with patterns or grains that must align consistently. Laying tiles in the prescribed orientation enhances aesthetic flow and symmetry. Whether left or right, correct alignment ensures a professional finish and brings visual harmony to the entire space.
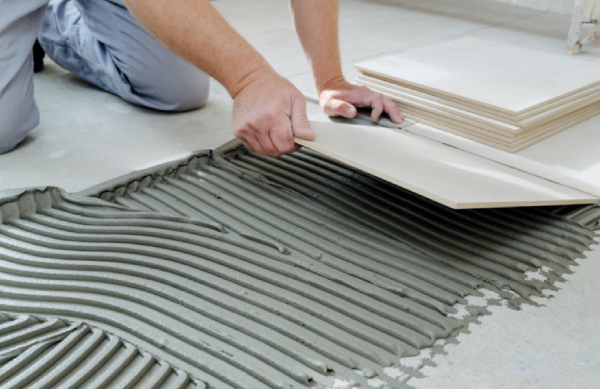

Once the adhesive is ready, gently press each tile onto the surface in the correct orientation. Apply firm but careful pressure for secure bonding. Using premium adhesives improves longevity and prevents detachment over time. Proper tile laying at this stage sets the foundation for a flawless, durable installation.

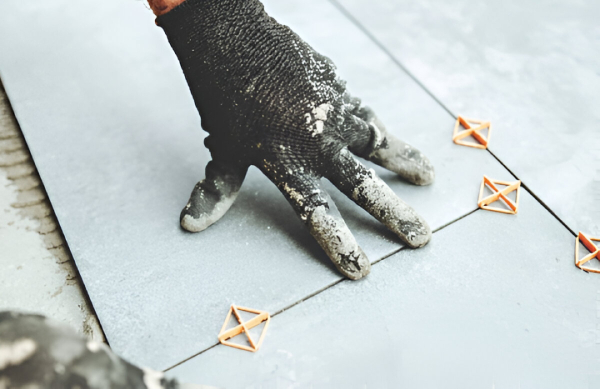
Insert spacers between tiles immediately after laying to achieve precise and uniform joint spacing. Spacers maintain alignment and allow space for grout application, which strengthens the structure and enhances appearance. Consistent joints also prevent cracking and ensure the tiled area looks elegant, symmetrical, and professionally finished throughout the project.

While placing tiles, ensure there are no air pockets beneath the surface. Air gaps can create hollow sounds, reduce strength, and cause cracks over time. Proper adhesive coverage and careful pressing eliminate gaps, guaranteeing strong bonding. This step is vital for long-lasting durability and smooth, flawless tile performance.
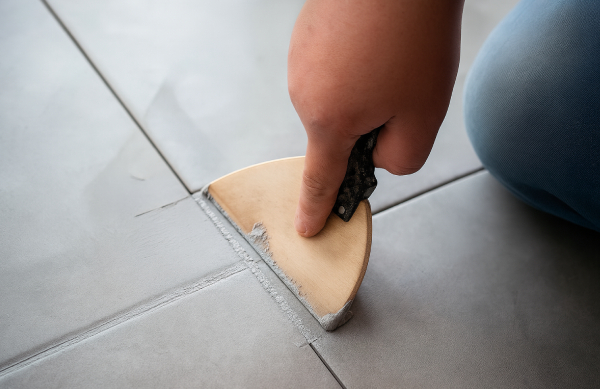

Once spacers are removed, fill the tile joints with high-quality grout using a rubber float. Press grout firmly into the gaps to prevent voids. Grouting seals joints, improves structural stability, and protects against moisture infiltration. A professional grouting finish not only strengthens the flooring but also enhances aesthetic appeal.
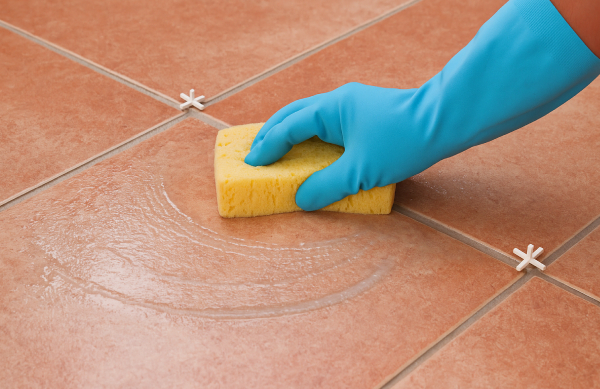

After grouting, clean the tiled surface promptly to prevent residue stains. Use a damp sponge to remove excess grout before it dries. Allow the adhesive and grout to cure as recommended, typically 24 hours. This final step ensures polished, flawless tiles with lasting strength, shine, and professional finishing.
A simple way to enhance gardens, pathways, or patios is by placing tiles directly on leveled grass with spacers. This setup adds beauty, ensures safety, and offers lasting durability.
Laying tiles on gravel or sand is a durable solution for walkways and pathways. It prevents water buildup, improves drainage, and gives a stable, visually appealing finish.
A widely used method for indoor and outdoor tiles. The cement base gives a smooth level surface, while adhesives ensure a strong, lasting bond, reducing cracks and giving a flawless finish.
Used for terraces and balconies with proper slope for drainage. Requires strong adhesives and systems like pedestals or waterproof membranes to prevent water stagnation and ensure durability.